
How to Contour: Master Makeup Contouring in 6 Easy Steps!
Are you someone interested in different styles of applying makeup? Gone are the days where people were focused on applying a lot of foundation on their face just to look fair. Times have changed and so have the makeup trends! So, what’s new? Let’s find out!
Ever heard about Contouring?
Have you seen a special makeup style, frequently used by celebrities, where they enhance their facial features using a darker or lighter shade? This makeup trend is called ‘Contouring’! What happens here is, your skin adopts a one-step darker or one-step lighter shade using some special techniques. This makeup trend can create high cheekbones or even make your face look slim by shaping the jawlines. Isn’t that quite interesting?
Keep reading if you want to learn how to try this technique!
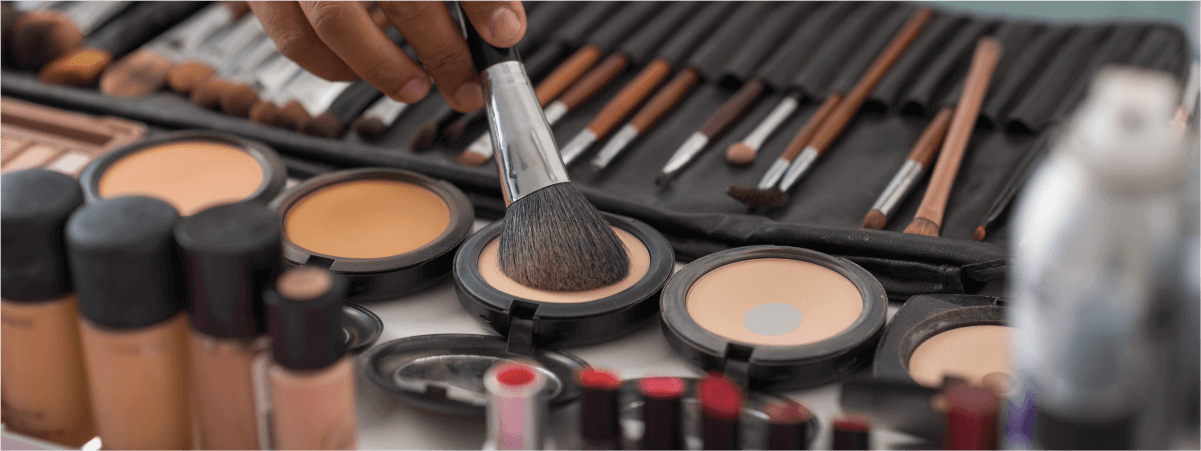
Well, let this article clarify one thing for you. Although contouring is a special makeup trend, you don’t really need a special contour kit for this. If you have two shades of concealer (you may use two shades of foundation or highlighter, brow powder, eyeshadow, or even bronzer), you can easily get this done. But whatever you are using, they have to have the same texture. Then, you’ll be needing the makeup brushes, which is pretty obvious.
Here’s how to do this!
Note- If you are trying contouring makeup for the very first time, don’t expect your first attempt to perfect. This needs mastering, and mastering requires good practice. Try following the steps that this article explains, and you’ll get it right with time. Good Luck!
Step 01
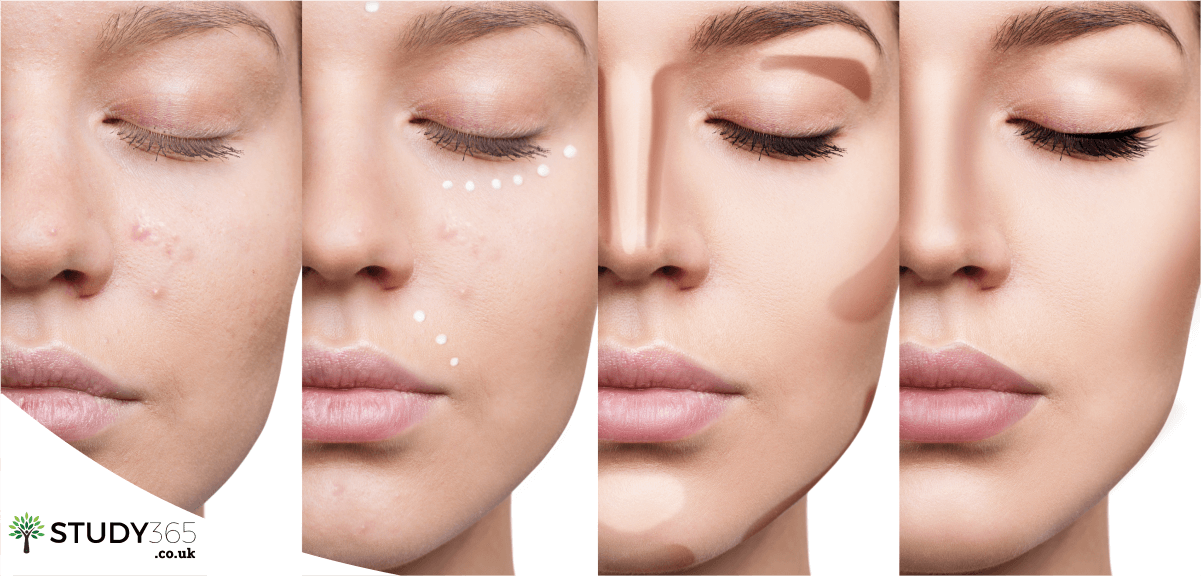
Before anything else, you need to do the basic preparations. You may also call this the skincare stage. First of all, wash your face well, and then apply whatever moisturiser you prefer and that works best for you. Applying moisturizer helps avoid makeup clumps that may appear around dry skin and harsh lines.
Here are some of the FAQs that can come up in this stage;
Can you use primer here?
Well, yes… that depends on your preference. Primer separates the moisturiser from the makeup layer you apply next, and that will help both these layers to last longer on your skin.
How to cover blemishes if you have any?
If you have blemishes or discolouration, you will have to use a little foundation here. (yes, you may also use your concealer in shades if you wish to). You need to even out the skin and get it to a level that matches your natural skin tone.
Step 02
In this step, you start your makeup for contouring. Yes, you guessed it right- you are about to create shadows! Take your darker shade and create the first shadow below your cheekbones. Here, b e mindful to follow the natural jawline shape of yours and your temple.
Here is an FAQ that can come up in this stage;
Should you know what the shape of your face is?
Yes, this is very important. Depending on the shape of your face, the place you create the shadow varies. (Nose, cheekbone, or jawline)
Note- Take time for this step. This is all about sculpting your face and you have to try your level best to find your perfect look.
Step 03
Did you know that the parts of your face such as the forehead, the tip of the nose, around the eyes, and cheekbones reflect light naturally? Have you ever noticed that?
They do, and this is why you have to apply the lighter shade (some people use the highlighter here) on these parts. No matter what you use- be it eyeshadows, highlighters, or illuminators, make sure it’s lighter than your original skin colour.
Step 04
Are you someone who is used to applying blush to the cheek when you are doing your everyday makeup? Then, you may go ahead with this step. But, remember that it’s not a must to apply blush for a contouring look.
Here is an FAQ that can come up in this stage;
What’s the purpose of applying blush?
Blush normally helps to bring a more natural look to your makeup. It naturalises the shadow you’ve put and the highlighted areas.
Step 05
This step is highly essential for the best contouring makeup look. In this makeup trend, you deal with shades that typically don’t match your skin tone, right? (you either go for a lighter or darker shade). So, blending is very crucial in order to get a natural final look.
Here is an FAQ that can come up in this stage;
Is there a special brush you should use for blending?
It would be ideal if you can use a big, fluffy brush for this. If you don’t have a brush, you may also use a makeup sponge. Make sure you blend your shadows and highlights well enough that the final look becomes natural, and not artificial.
Step 06
Now, this step is all about getting that perfect finish. If you are someone who is used to applying setting powder, you may do so. If you have oily skin, use more setting powder, and if you have dry skin, make sure you consume less. But the newest trend is to use spray.
Here is an FAQ that can come up in this stage;
Can’t you make contrasts in the overall look after you are done contouring?
Why not! If you want to have high-gloss lips, don’t be afraid or shy to go ahead and do so. Having contrasts in the overall look is great, and contouring makeup art does not have any restrictions on them.
And, here is a thing that you should keep in mind. Online tutorials and videos will sometimes showcase contouring makeup before and after photos/ videos that are not real. Don’t get deceived by them since you now know A-Z of this art- thanks to this article.
Don’t forget to check us out on Instagram and Twitter @Study365.
Like this article? Share it with your friends by clicking the icons below!
0 responses on "How to Contour: Master Makeup Contouring in 6 Easy Steps!"